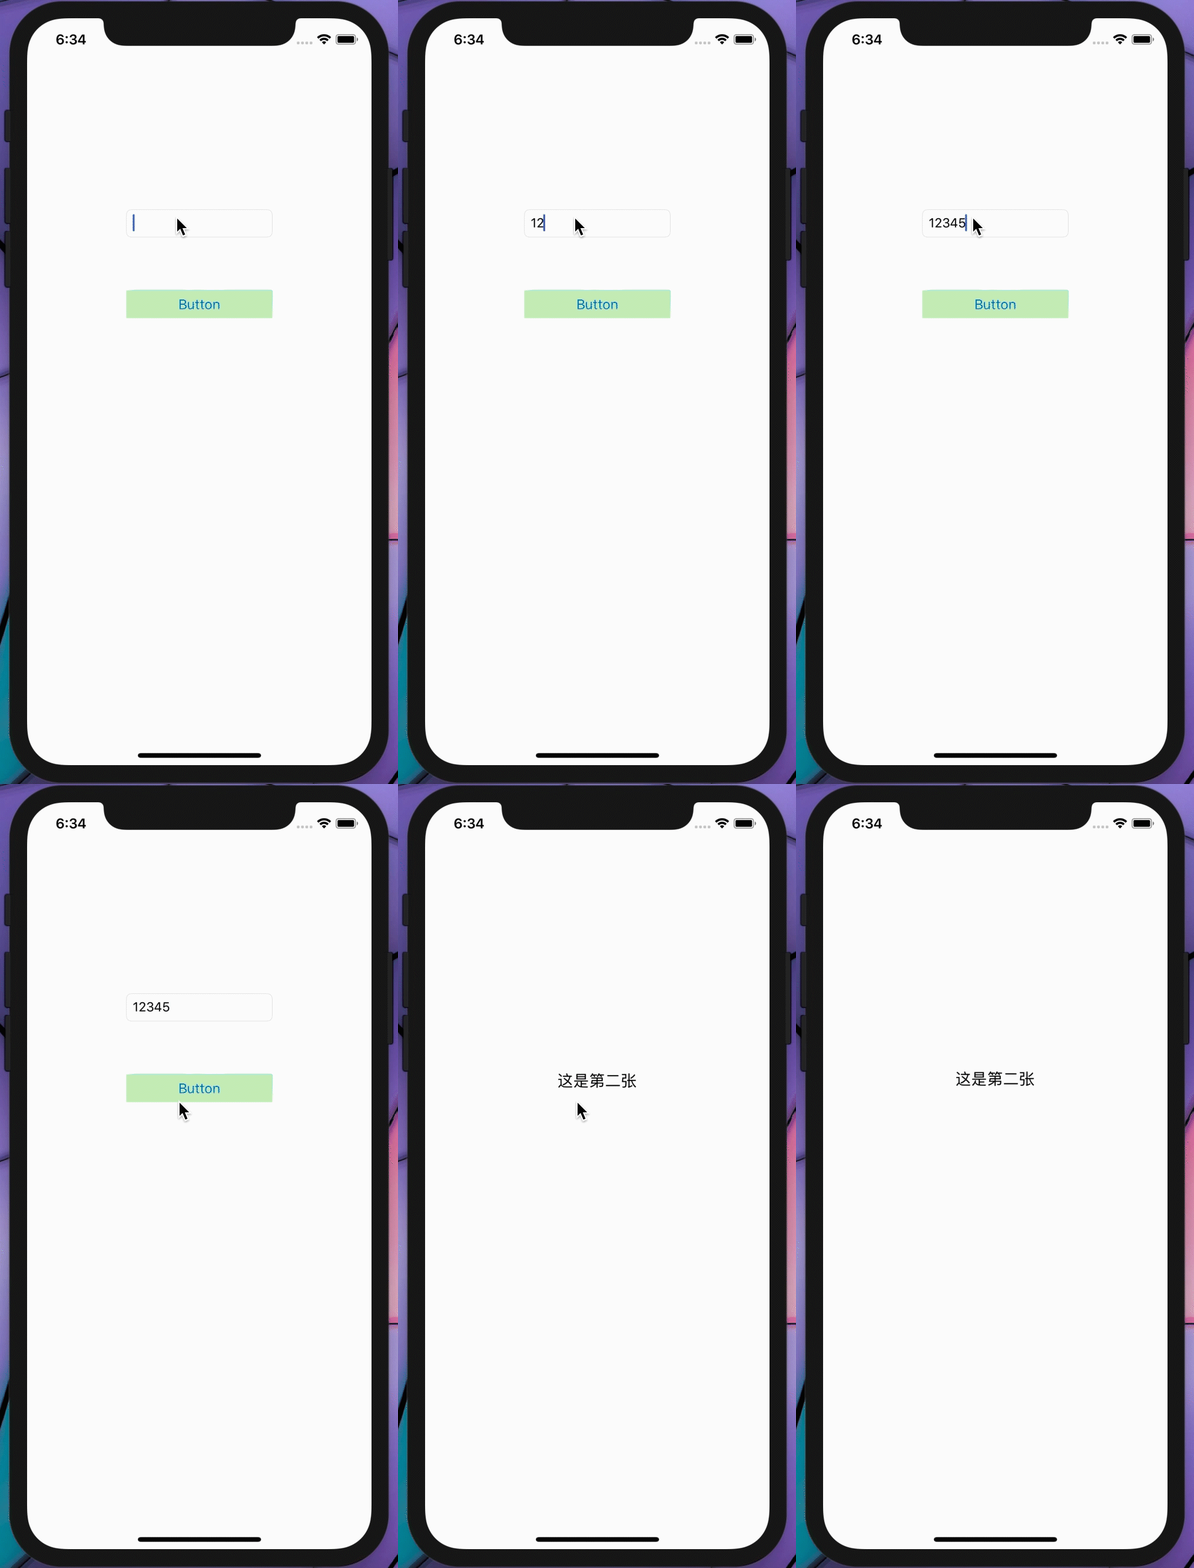
先看一下结果:

首先我们创建完一个项目后视图如下:

接着我拖入第二个ViewController视图,如箭头所示,然后点击小框下面的Title分别更改他们的名字为:FirstViewController和SecondViewController(主要是好看)

下面我们在FirstViewController中拖入按钮控件、输入框并改变他们的大小颜色(好看),在SecondViewController中拖入一个label,并双击更改它的名字为:“这是第二张”,效果如下图:

后面重新建一个swift文件(这里不多说怎么建了),如果懒得建也可以用现成的默认的swift文件,这里我给它命名为ChangeViewController,在下图右上角框里可以看见。然后点击FirstViewController,在右上角框框的定制脚本(我是这么叫的)中选中ChangeViewController,意味着我们把ChangeViewController.swift赋给了这个视图来控制其各种属性。。。。(学过Unity的应该更好理解,就是为“物体”添加脚本)。

(如果没有为FirstViewController添加ChangeViewController.swift脚本那么下面的控件在代码中的设置应该不会成功):
按住Control并分别拖动TextField和Button将其拖入脚本ChangeViewController中,这里设置TextField为Outlet模式并命名为txt、Button设置为Action模式并命名为Button。
最关键的来了,为Button添加响应内容:在func Button 中添加如下代码:
if(txt.text == "12345" ){
            self.performSegue(withIdentifier:"second", sender: self)
结果如下:

其意义就是:当输入框里面的内容为12345时调用perfromSegue进行页面切换,切换到second所指代的视图界面,发送方为(self)本视图界面。
那么我们的second从哪来呢?

左键点击FirstViewController把它拖入SecondViewController中,如上图: 并在弹出框内选择Model,如下如:

这时我们的桥梁已经架好了,但是还是没有“路标”second,接着点击那个连接,在右上方Show the Attributes inspector的identifier中填上我定义的“路标”second,如下图


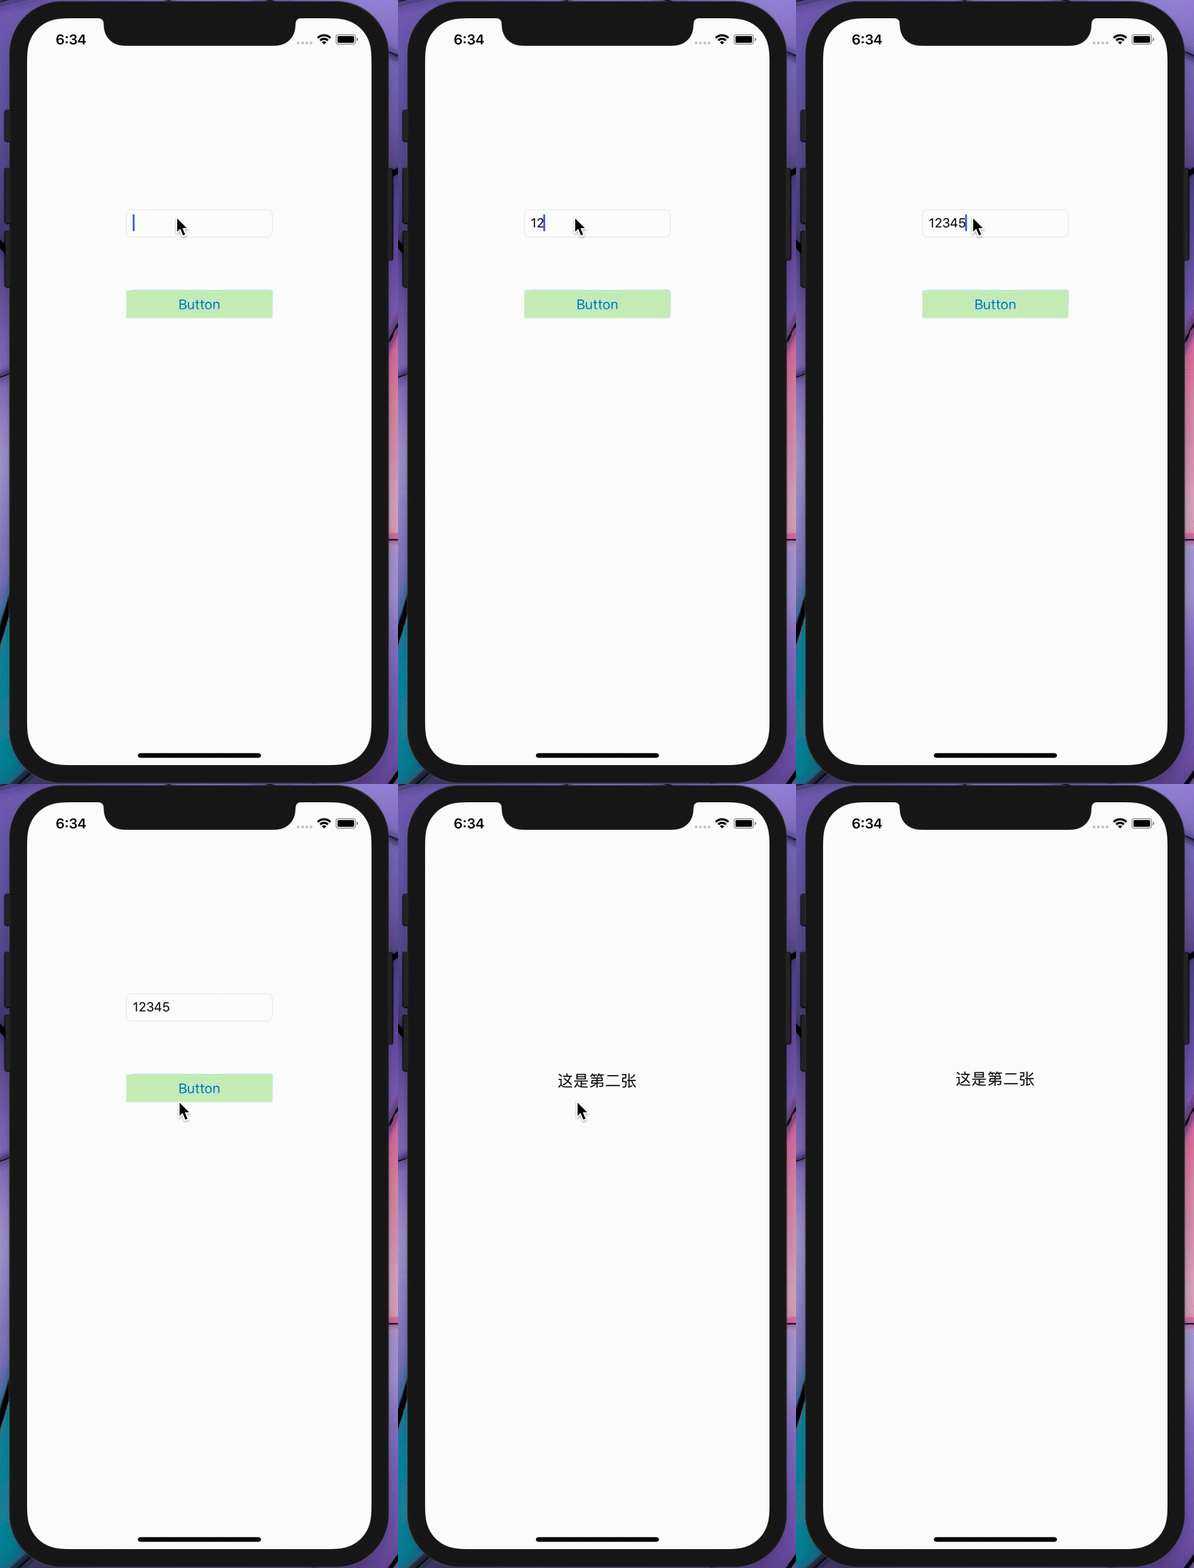
最后点击运行▶️ 结果如下:

